How to Deploy Vaultwarden: Lightweight Self-Hosted Bitwarden with Docker Compose and Caddy
Vaultwarden is an open-source, lightweight implementation of the Bitwarden Client API written in Rust. Learn how to deploy Vaultwarden with Docker Compose and Caddy HTTPS, configure Web Vault secrets, and manage users.
Vaultwarden is an open-source, lightweight alternative implementation of the Bitwarden Client API written in Rust. Licensed under the AGPL-3.0 License, Vaultwarden delivers 100% compatibility with official Bitwarden applications—including browser extensions, mobile apps (iOS and Android), desktop clients (macOS, Windows, and Linux), and the Bitwarden CLI—while replacing the resource-intensive multi-container upstream stack with a single, highly efficient binary.
Key Capabilities and Architecture
- Drastic Resource Efficiency:
The official Bitwarden self-hosted server consists of over a dozen containerized .NET microservices backed by Microsoft SQL Server, requiring a minimum of 3 to 4 GB of RAM. Vaultwarden condenses the complete Bitwarden server API into a single Rust binary running on the Rocket web framework and Tokio runtime, consuming merely 8 to 25 MB of RAM at idle. This enables smooth operation on low-power homelab hardware, Raspberry Pis, or entry-level cloud VPS instances.
- Integrated Web Vault & WebSockets:
Vaultwarden packages a customized build of the upstream Bitwarden Web Vault (web-vault), serving the full client dashboard directly from the root URL. Real-time push notifications are handled over async WebSockets (/notifications/hub) on the main listener, removing the need for a legacy standalone notification daemon or separate port multiplexing.
- Built-in SQLite with Write-Ahead Logging:
Out of the box, Vaultwarden persists all ciphers, folders, users, and audit records into an embedded SQLite database (db.sqlite3) configured with WAL mode. External database drivers for PostgreSQL and MariaDB/MySQL are also available at compile-time for enterprise deployments.
- End-to-End Cryptographic Zero-Knowledge:
Client items are encrypted and decrypted strictly within the user's browser or native client using AES-256-CBC, PBKDF2/Argon2id, and HMAC-SHA256 before any data is sent over the network. The server never receives or stores your master password or unencrypted vault ciphers.
- Bitwarden Send & Organization Features:
Vaultwarden natively supports Bitwarden Send for sharing end-to-end encrypted, expiring text snippets and file attachments with anonymous external recipients, as well as full organization vault sharing, collections, and role-based access control.
---
Prerequisites
Before starting the deployment, verify that your target host environment meets the following requirements:
- Host Operating System: Linux (Debian, Ubuntu, Arch, Fedora, Rocky), macOS, or Windows via WSL2.
- Container Runtime: Docker Engine with Docker Compose v2 (
docker compose versionv2.20+ recommended). - Available Host Ports: Host port 8443 (or port 443 for public internet deployments). Port 80 inside the container is kept internal to the Docker network.
- System Utilities: Standard shell environment with
openssl(for generating cryptographically secure admin tokens) andcurl(for health checks). - Zero Host Toolchains: No Rust toolchain, Node.js runtime, or external database engines are required on the host system. All dependencies are containerized.
---
Exact Install Steps
The validated deployment pairs the official vaultwarden/server:latest image with a lightweight caddy:2 reverse proxy container on a private Docker bridge network.
Critical HTTPS Requirement: Modern Web Vault releases (Web-Vault 2026.7.0+) strictly enforce HTTPS and throw an
InsecureUrlNotAllowedErrorfor plain HTTP origins—even onhttp://localhost. Deploying Caddy alongside Vaultwarden ensures TLS is terminated seamlessly with internal self-signed certificates locally, or automatic Let's Encrypt certificates in production.
Step 1: Create the Project Directory and Persistent Storage
Create the deployment directory, initialize the persistent SQLite data folder, and enter the directory:
mkdir vaultwarden && cd vaultwarden
mkdir vw-data
Step 2: Generate Admin Token and Environment Variables
Generate a 64-character hexadecimal authentication secret for the /admin portal and configure your .env file:
cat > .env <<EOF
ADMIN_TOKEN=$(openssl rand -hex 32)
DOMAIN=https://localhost:8443
SIGNUPS_ALLOWED=true
EOF
chmod 600 .env
Security Note:
ADMIN_TOKENunlocks administrative control over your instance via/admin. Keep.envrestricted with permissions600and do not commit this file to version control. SetDOMAINto match the exact protocol, hostname, and port where users access the service; this ensures invitation links and Bitwarden Send URLs are generated with the proper origin.
Step 3: Write the Docker Compose Configuration
Create docker-compose.yml to define the Vaultwarden application service and the Caddy HTTPS reverse proxy:
cat > docker-compose.yml <<'EOF'
services:
  vaultwarden:
    image: vaultwarden/server:latest
    restart: unless-stopped
    env_file: .env
    volumes:
      - ./vw-data:/data
    healthcheck:
      test: ["CMD-SHELL", "curl -f http://localhost:80/alive || exit 1"]
      interval: 5s
      timeout: 3s
      retries: 10

  caddy:
    image: caddy:2
    restart: unless-stopped
    ports:
      - "8443:8443"
    command: caddy reverse-proxy --from https://localhost:8443 --to vaultwarden:80 --internal-certs
    depends_on:
      - vaultwarden
EOF
Production Note: When exposing Vaultwarden to the public internet on a custom domain, replace
--from https://localhost:8443with--from https://vault.example.com:443, publish port"443:443", remove--internal-certs, and setDOMAIN=https://vault.example.comin.env. Caddy will automatically provision and renew valid Let's Encrypt / ZeroSSL certificates.
Step 4: Pull Images and Launch the Stack
Pull the verified images and start the services in detached mode:
docker compose pull
docker compose up -d
---
Verification
Confirm that both containers are running and healthy before accessing the Web Vault.
1. Check Container Health and Process Status
Verify that Vaultwarden passes its internal healthcheck and Caddy is bound to port 8443:
docker compose psExpected output:
NAME                     IMAGE                       COMMAND                  SERVICE       CREATED          STATUS                    PORTS
vaultwarden-caddy-1      caddy:2                     "caddy reverse-proxy…"   caddy         10 seconds ago   Up 10 seconds             0.0.0.0:8443->8443/tcp
vaultwarden-server-1     vaultwarden/server:latest   "/vaultwarden"           vaultwarden   10 seconds ago   Up 10 seconds (healthy)   80/tcp
2. Verify /alive Liveness Endpoint
Query the liveness endpoint over HTTPS using curl -sk (the -k flag accepts Caddy's internal local certificate):
curl -sk https://localhost:8443/aliveExpected output:
"2026-10-31T20:03:06.091120Z"*(A returned ISO-8601 JSON timestamp string confirms the Rocket server is active and healthy.)*
3. Verify Server API Configuration
Confirm the Bitwarden API endpoint reports the correct server name:
curl -sk https://localhost:8443/api/config | grep -o '"name":"Vaultwarden"'Expected output:
"name":"Vaultwarden"4. Verify Admin Portal Accessibility
Confirm that /admin returns HTTP status 200:
curl -sko /dev/null -w "%{http_code}\n" https://localhost:8443/adminExpected output:
200---
Browser Setup
Follow this step-by-step walkthrough to initialize your primary vault account, store credentials, test encrypted file sharing, and access administrative settings.
Step 1: Open the Web Vault and Create an Account
- Open your browser and navigate to
https://localhost:8443. If using internal certificates, accept your browser's self-signed security warning. - The Web Vault landing screen displays the Bitwarden login form.
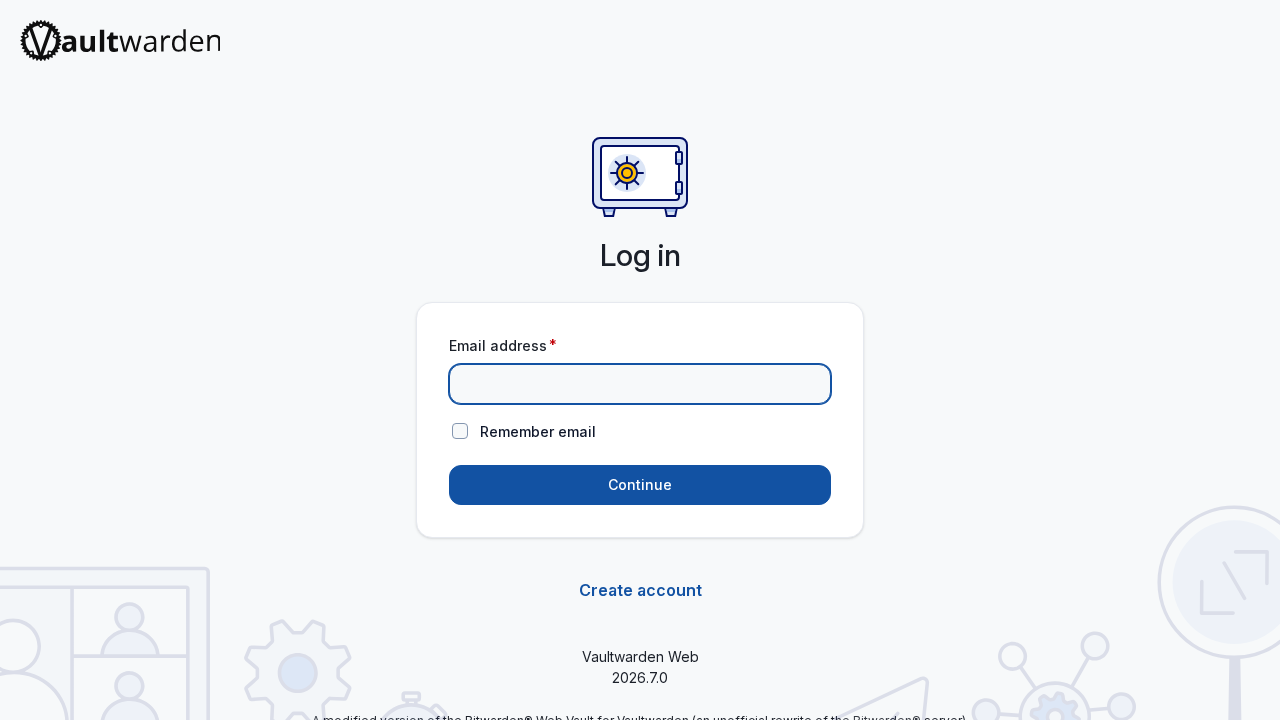
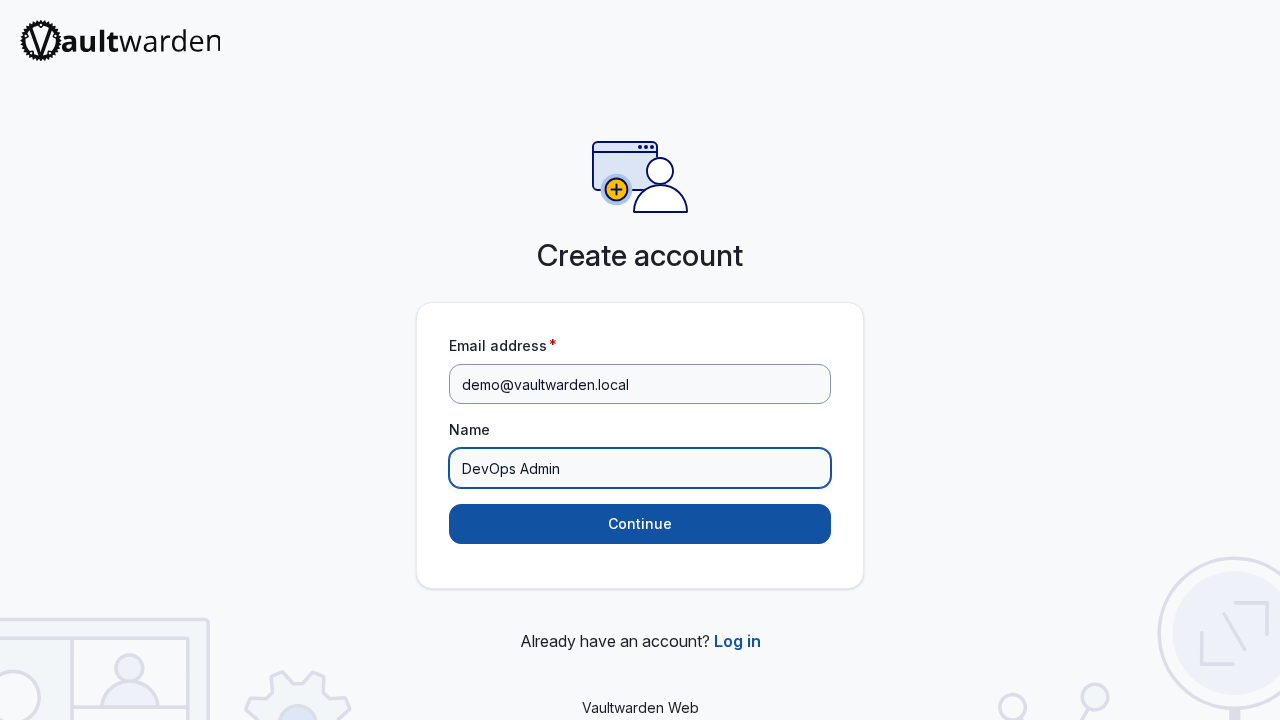
- Click Create account.
- Fill in your account details:
- Email Address: demo@vaultwarden.local - Name: DevOps Admin
- Choose a strong master password (e.g.
SuperSecretMasterPassword123!), re-enter it to confirm, and provide an optional hint.
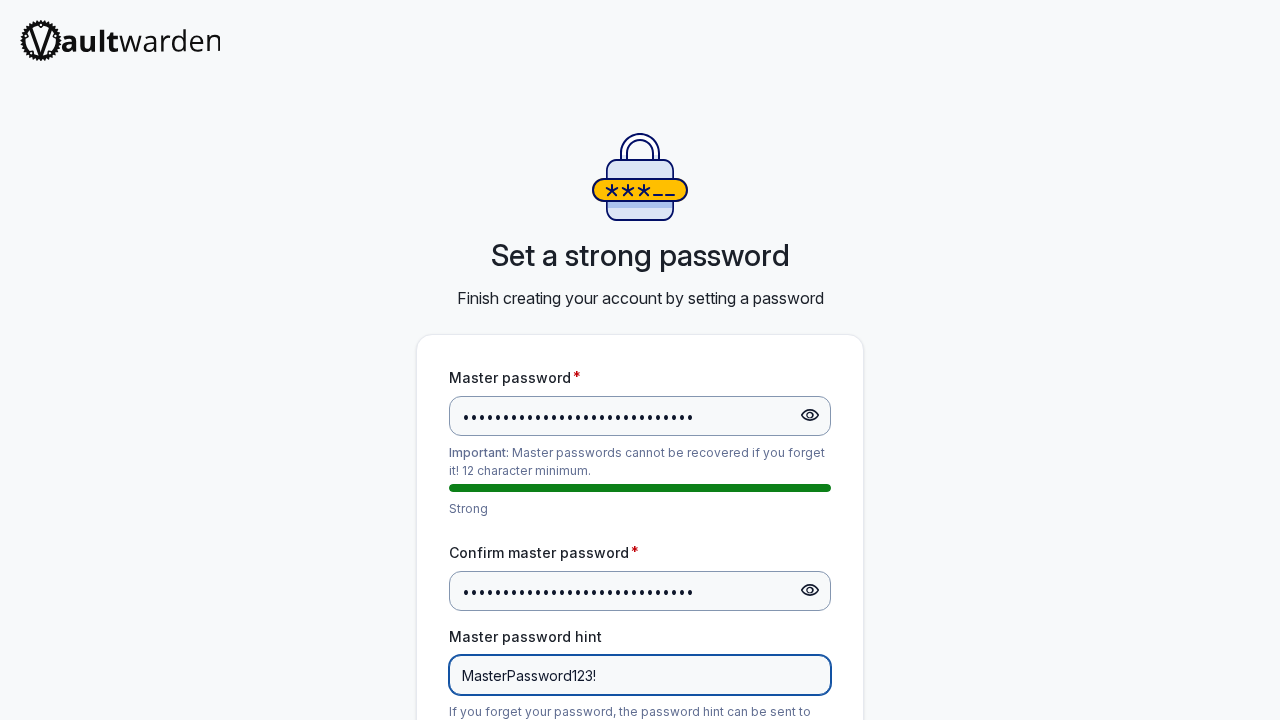
- Click Create account. Vaultwarden completes client-side cryptographic key derivation and establishes your vault.
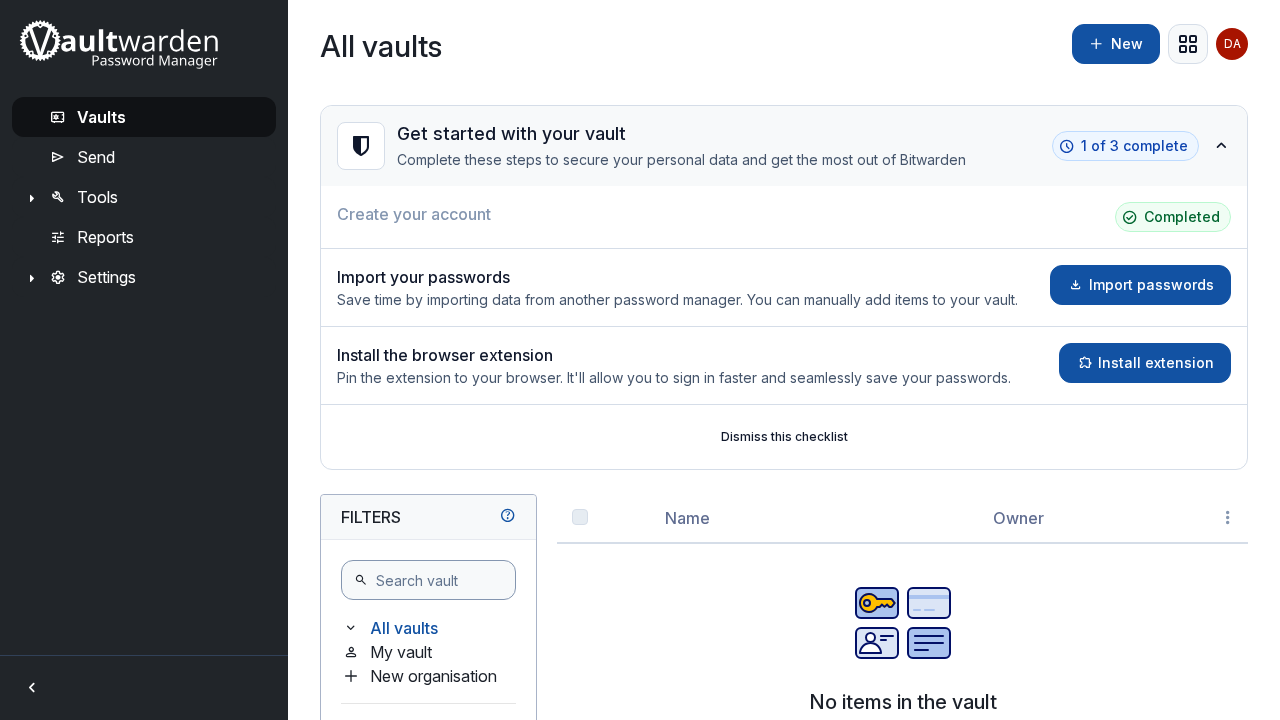
Step 2: Access Your Fresh Vault
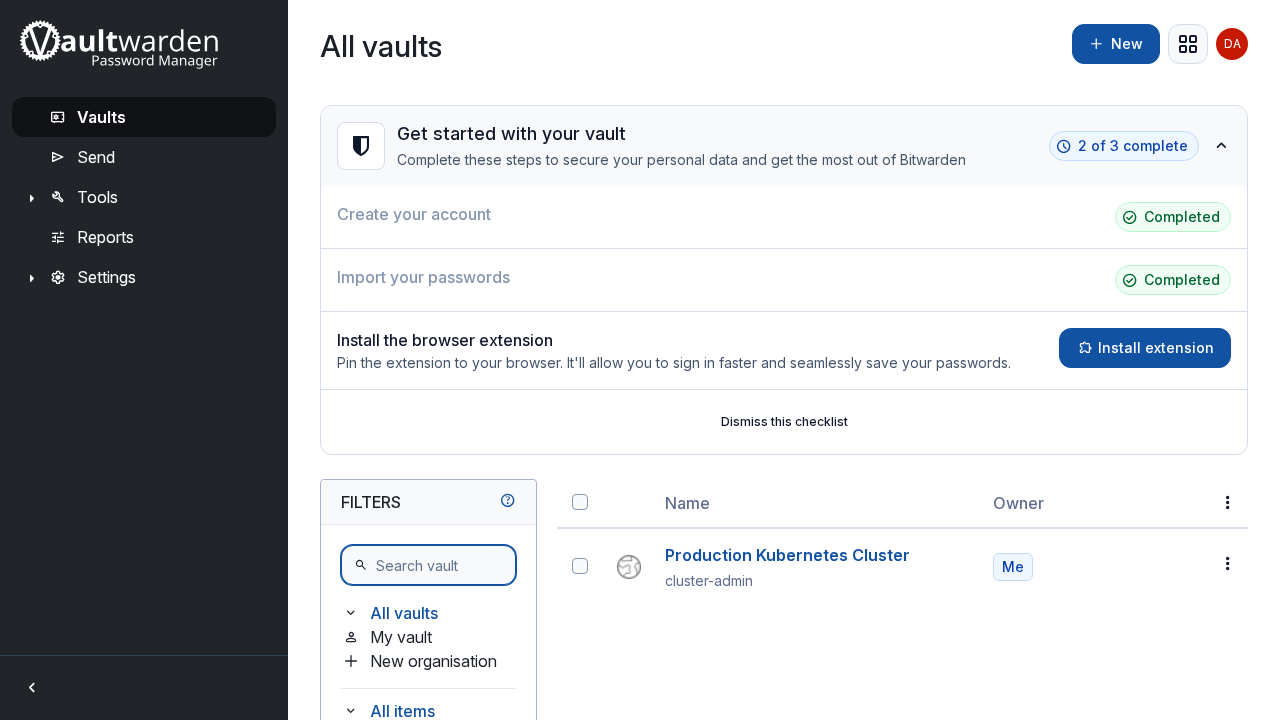
Log in with your newly created master credentials. You will be greeted by the clean, empty vault dashboard.
Step 3: Add an Encrypted Login Credential
- Click New item (or + Item).
- Configure a new Login credential:
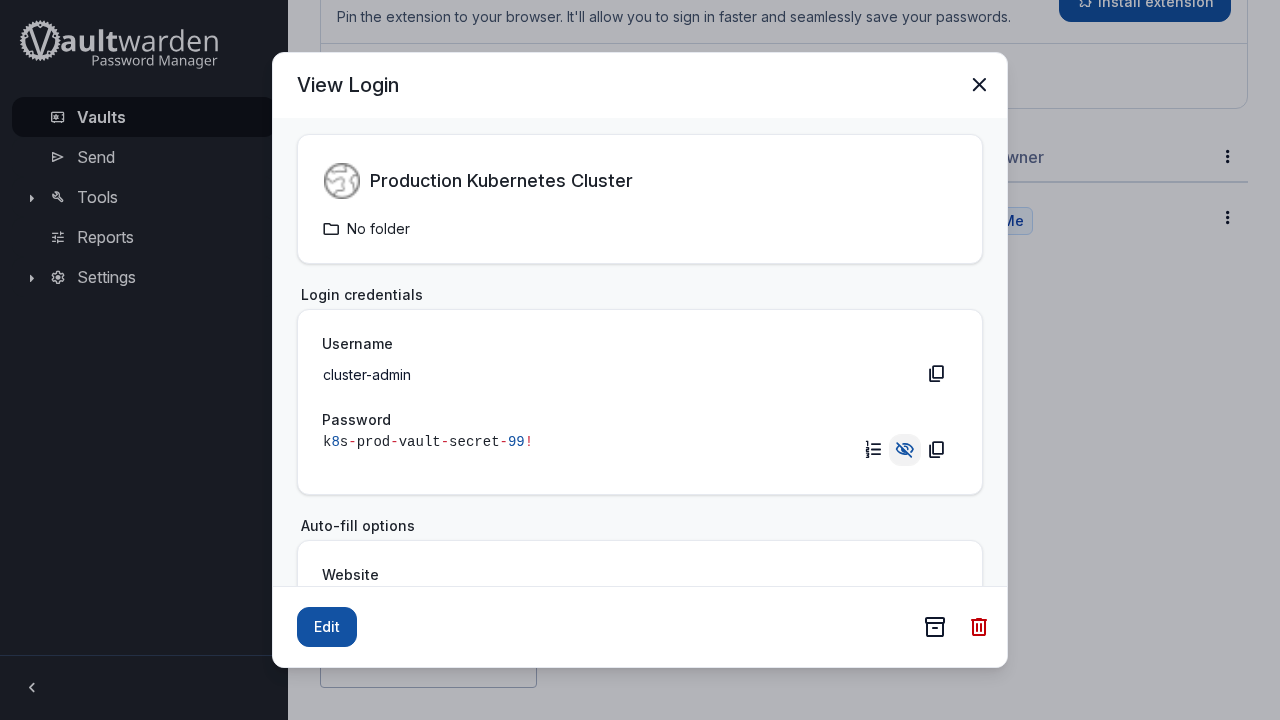
- Item type: Login - Name: Production Kubernetes Cluster - Username: cluster-admin - Password: Enter or generate an encrypted password - URI 1: https://k8s.internal.croogserverdude.ca - Notes: Add operational cluster documentation or bootstrap notes
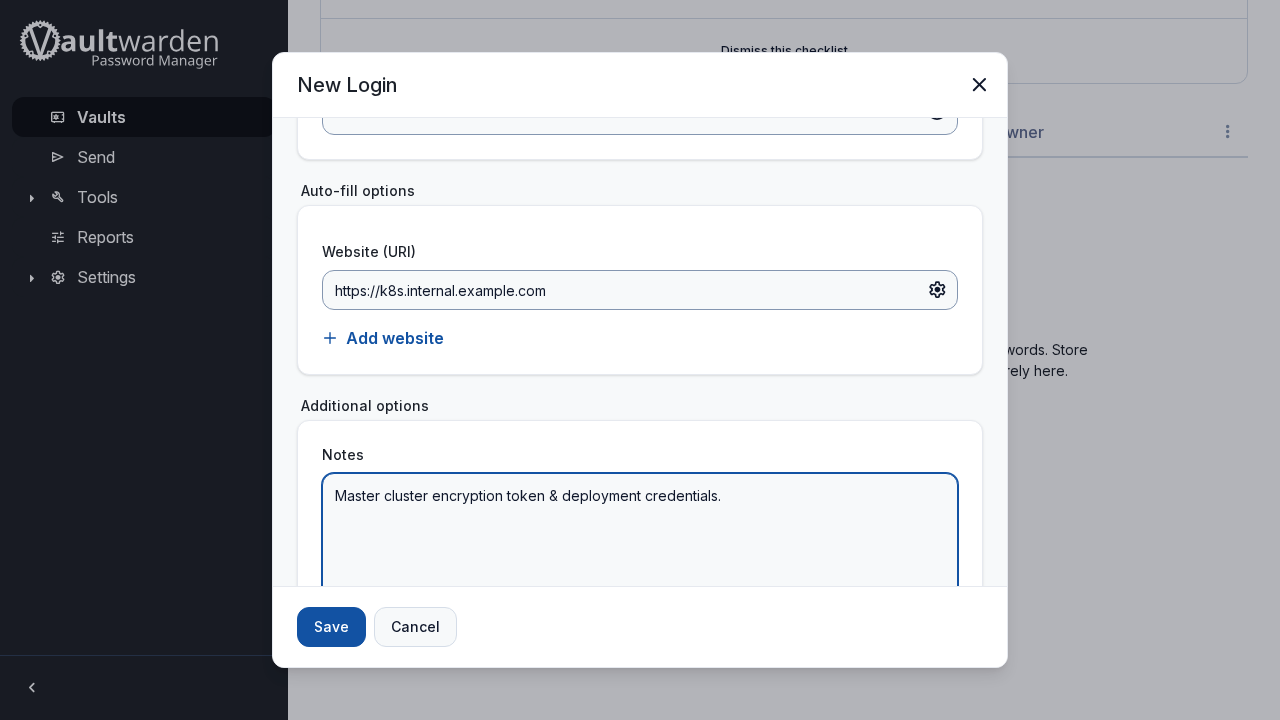
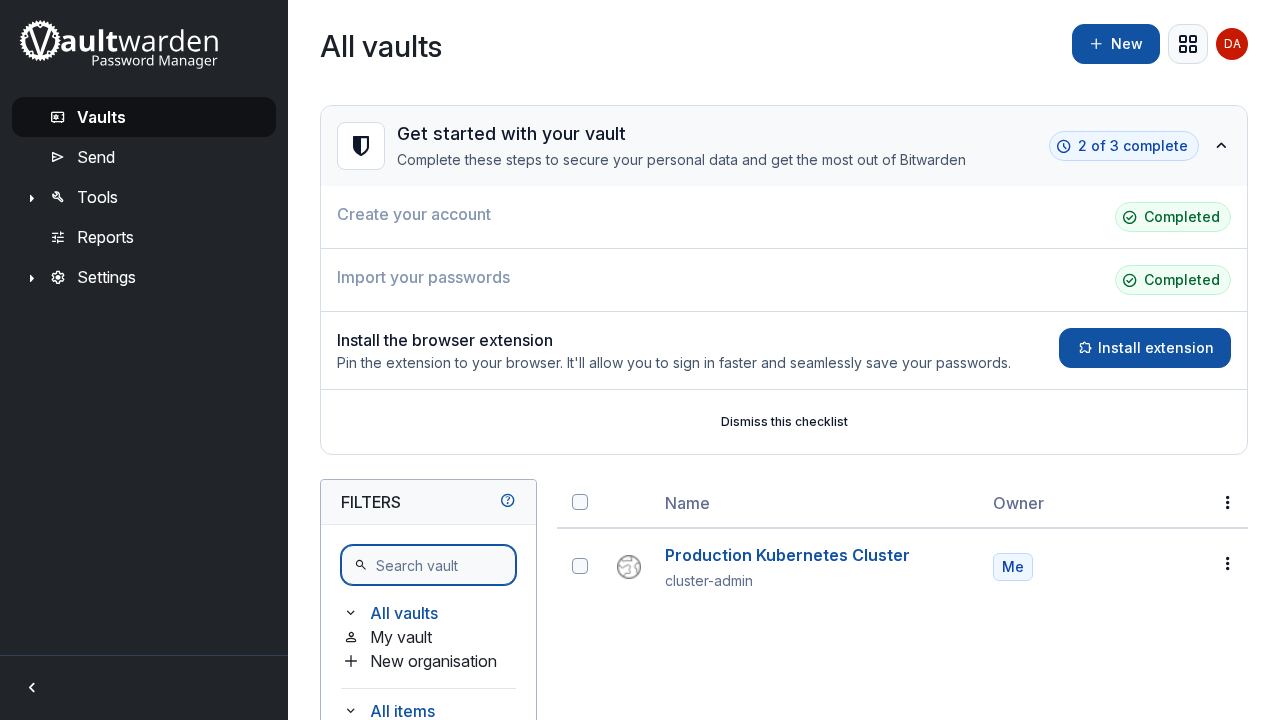
- Click Save. An Item added confirmation toast appears.
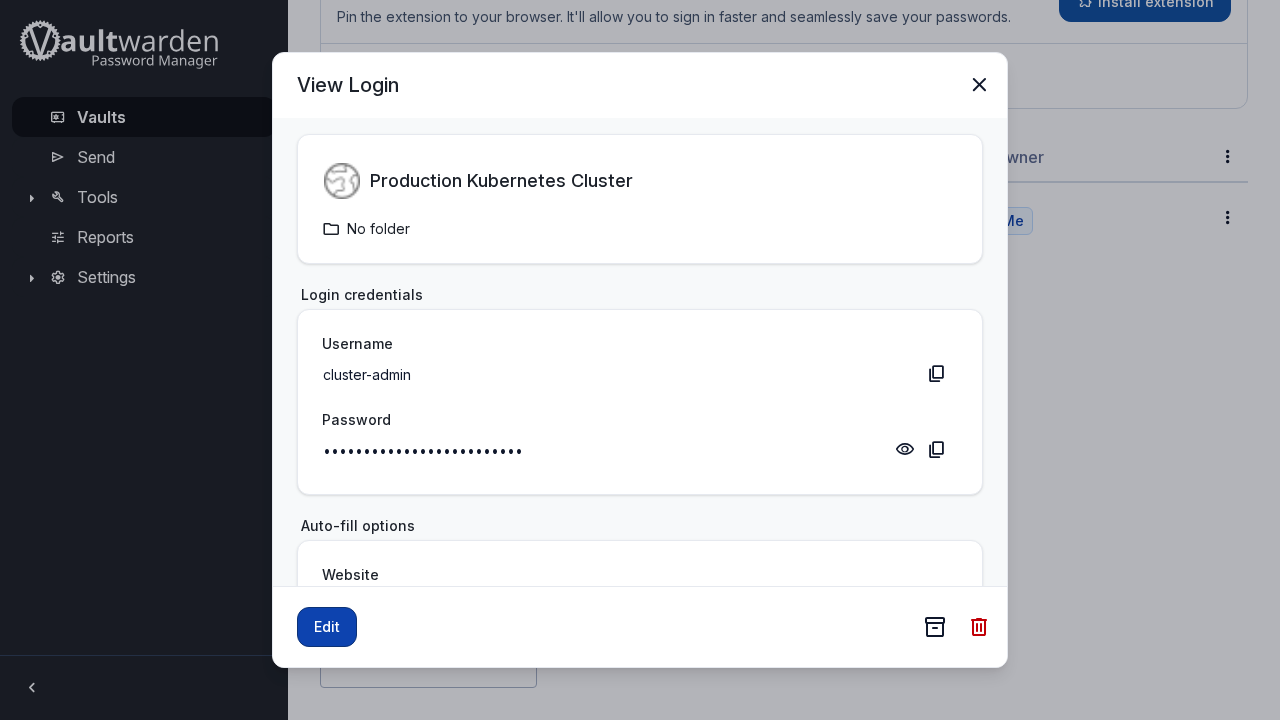
- The item is displayed in your encrypted vault inventory.
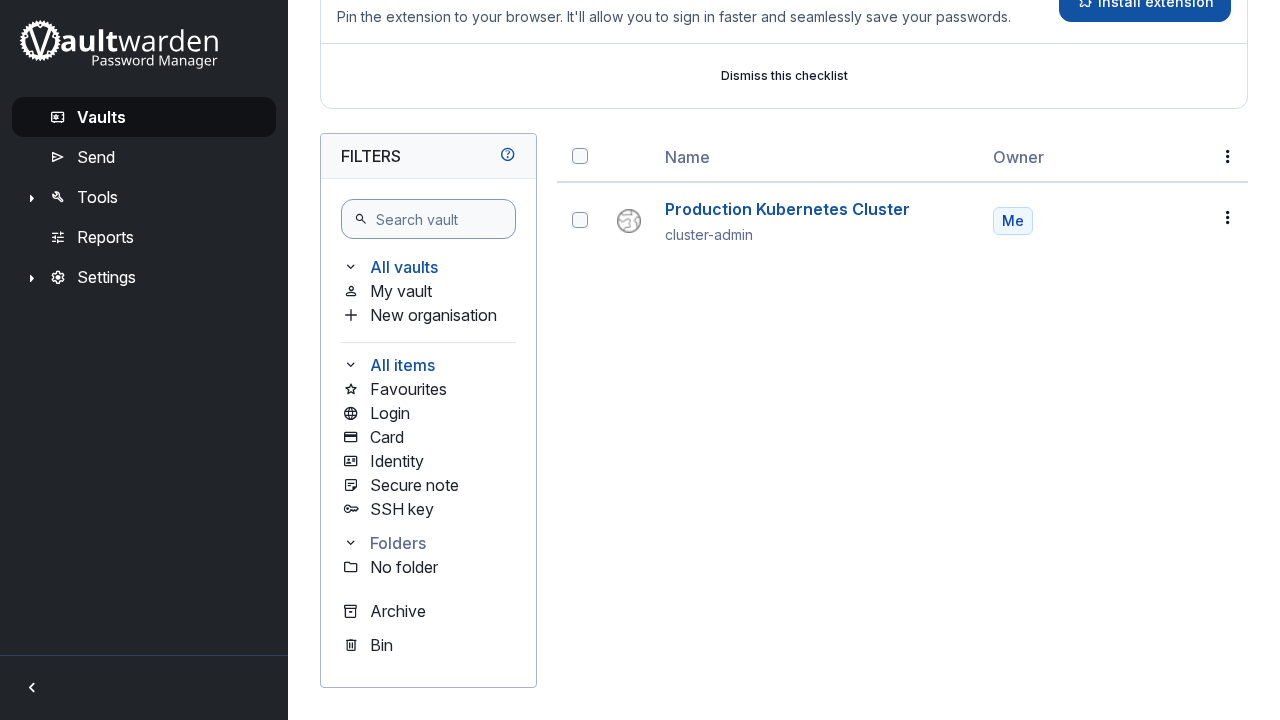
- Click the entry to open the item detail view, where passwords can be revealed or copied to clipboard with one click.
Step 4: Share Encrypted Data with Bitwarden Send
Bitwarden Send allows you to share end-to-end encrypted notes or secrets with colleagues or external recipients without requiring them to have an account.
- Navigate to the Send tab in the top navigation bar.
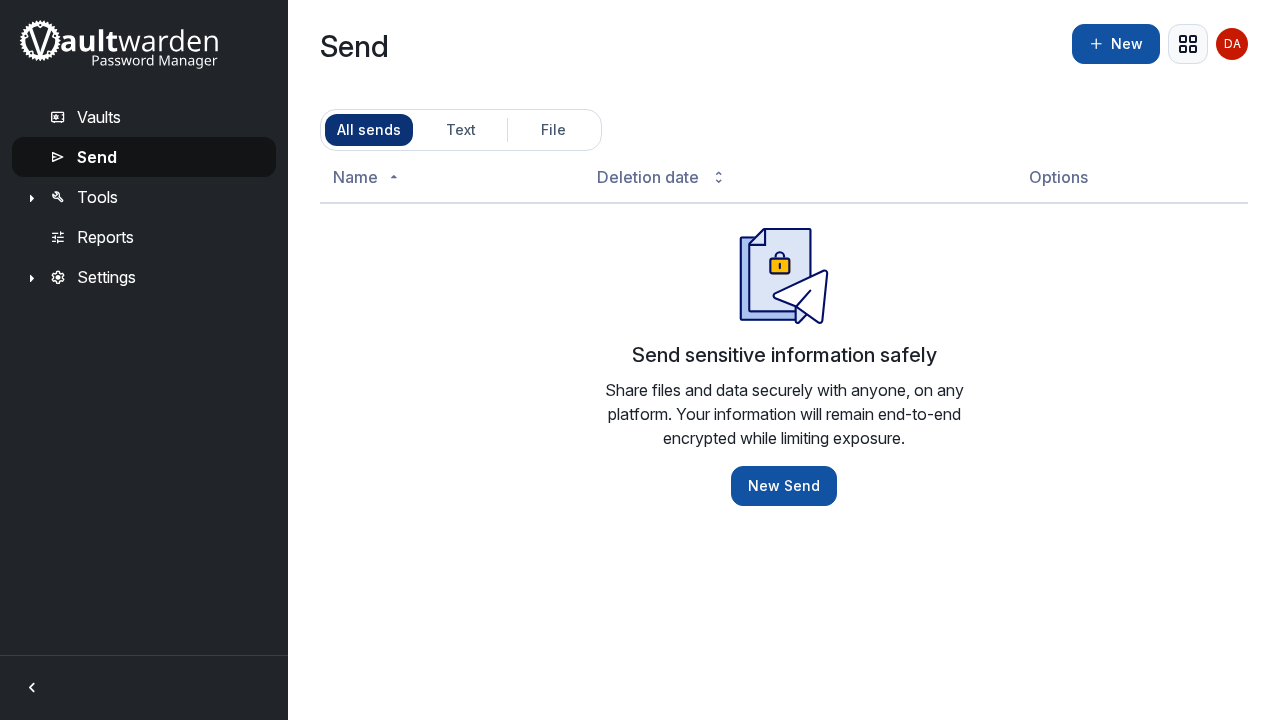
- Click New Send.
- Fill out the Send creation modal:
- Send type: Text - Name: Database Backup Key - Text: Enter sensitive key material or credentials - Expiration: Select an expiration window (e.g. 7 days)
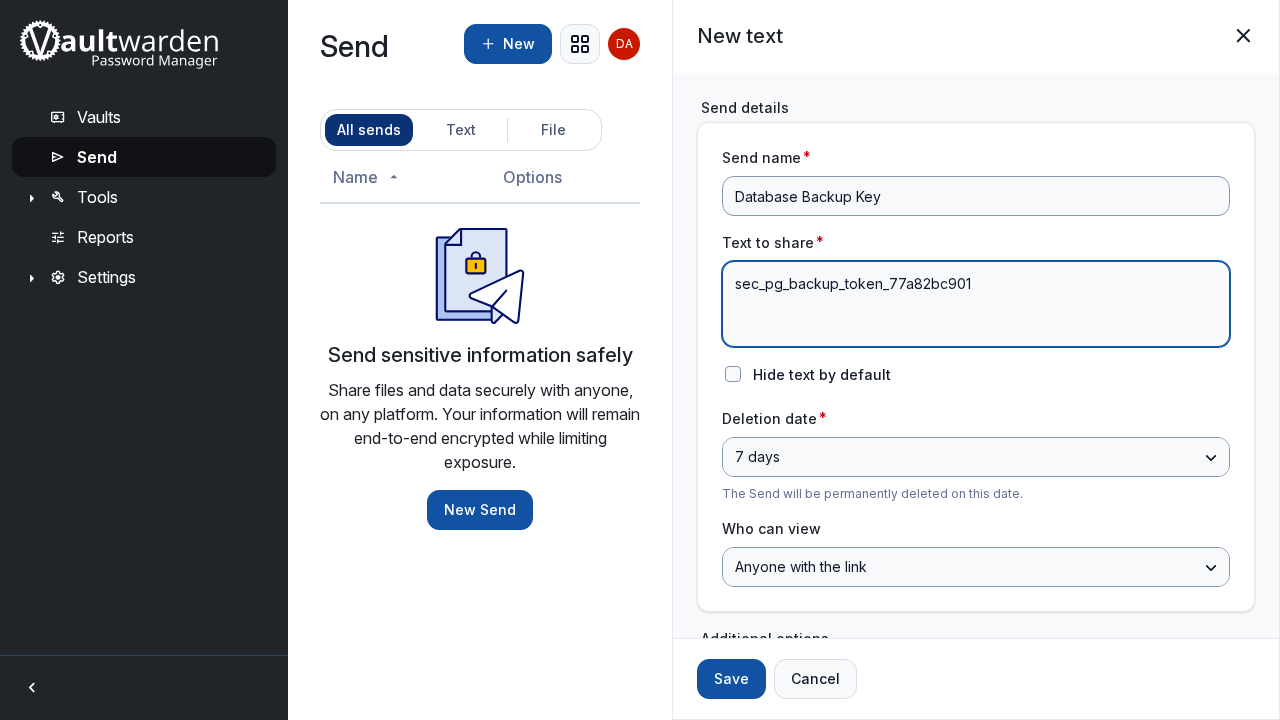
- Click Save. The Send is created and a unique, cryptographically keyed URL is generated.
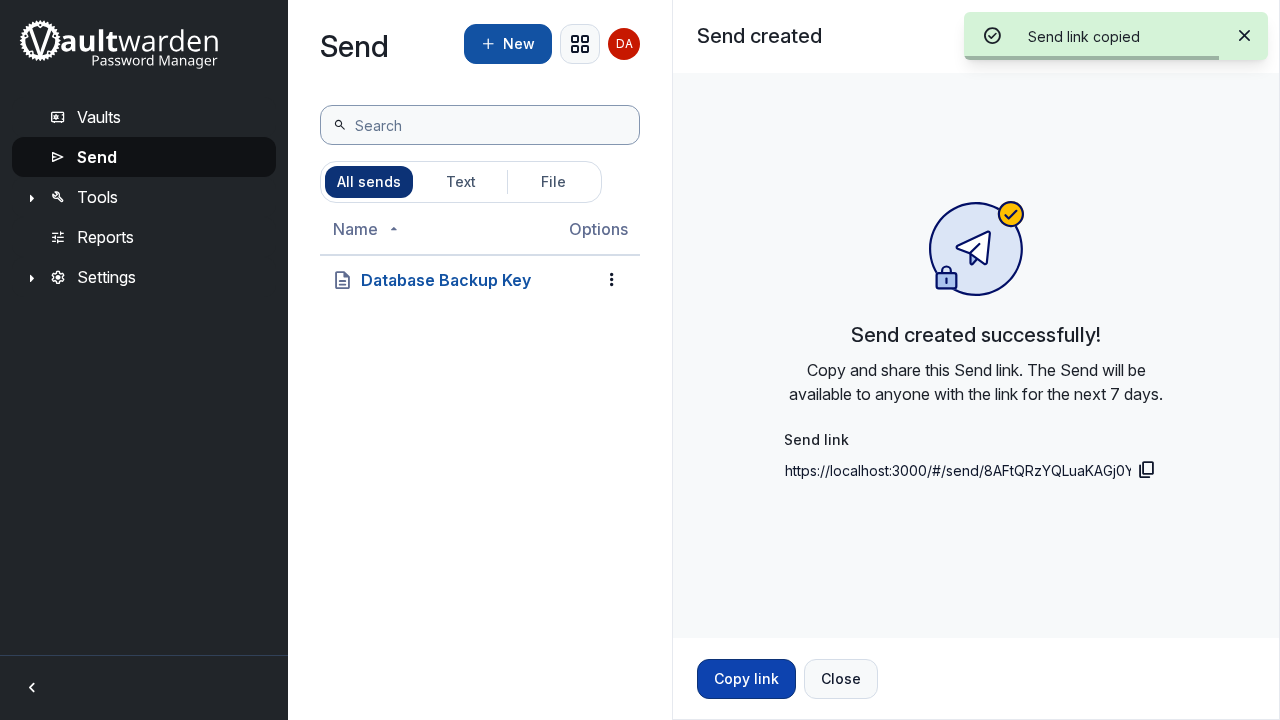
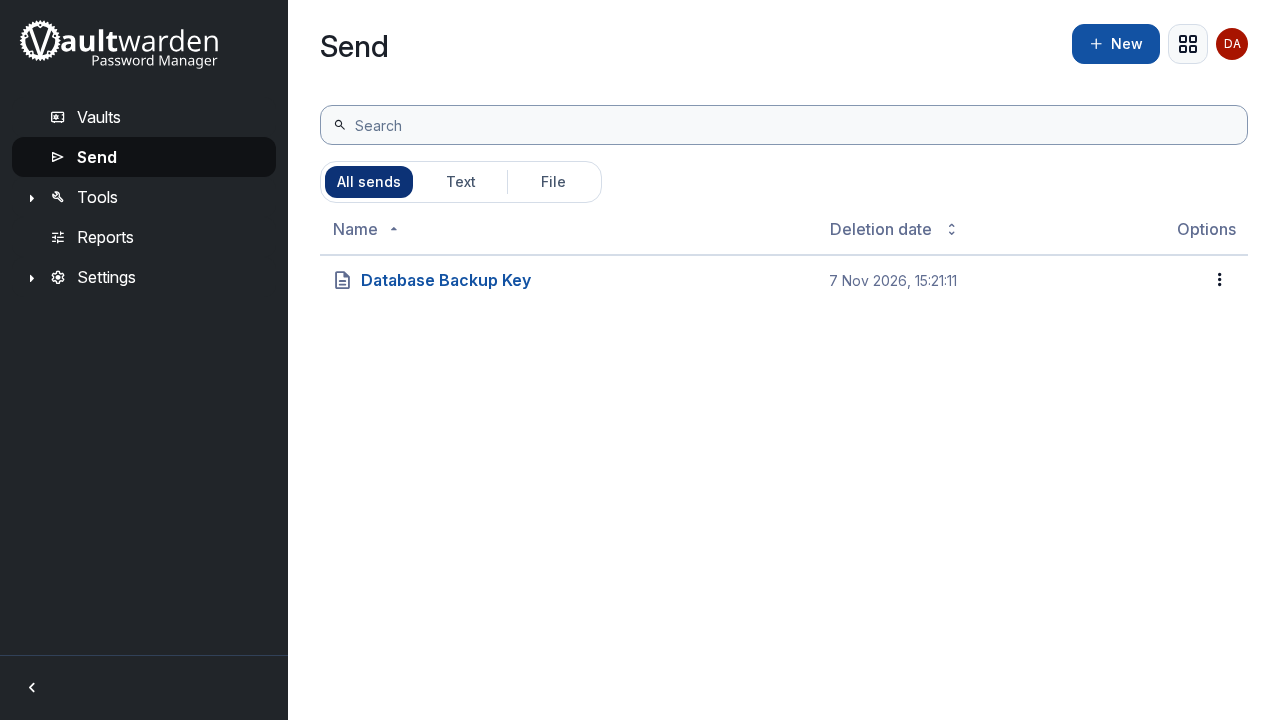
- Click Copy link from the modal or inspect your active Send list.
Step 5: Anonymous Recipient Verification
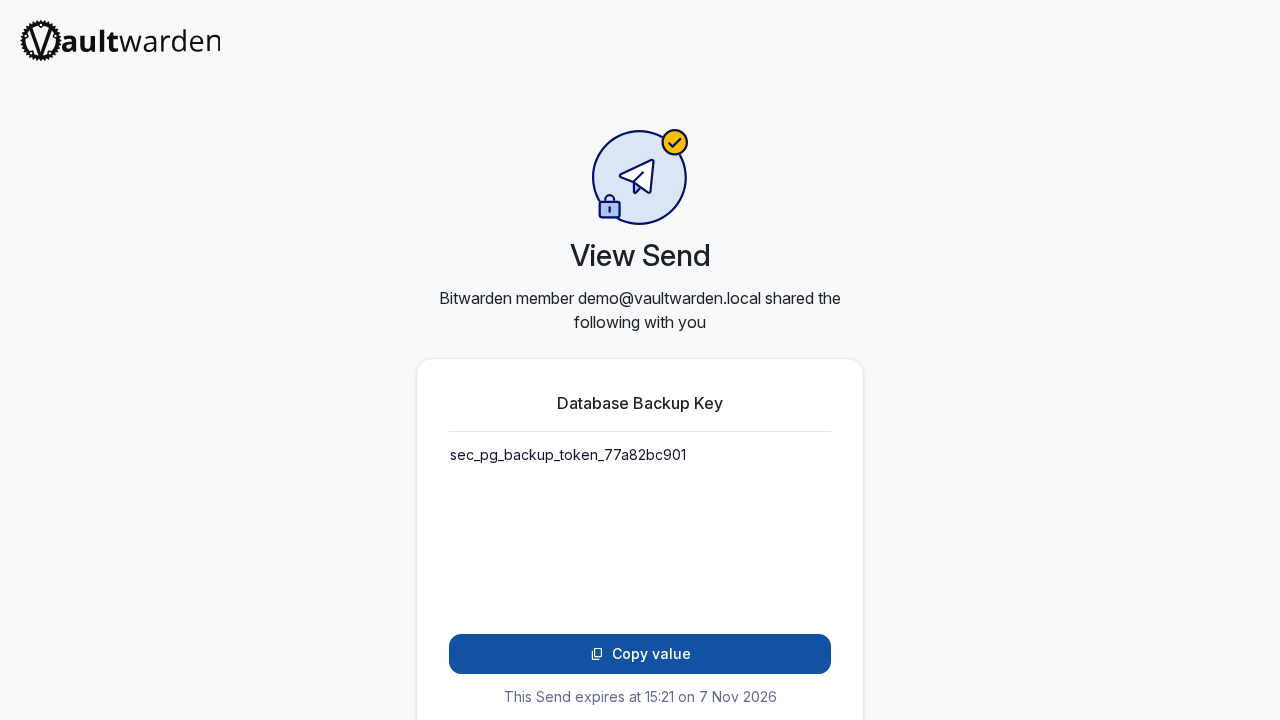
Open an incognito or private browsing window and navigate to the copied Send URL. The recipient can immediately inspect and copy the decrypted secret without logging in.
Step 6: Access the Administration Portal
Vaultwarden features an administrative console at /admin for server governance.
- Open
https://localhost:8443/adminin your browser. - Enter the
ADMIN_TOKENvalue generated during Step 2 of the installation. - The Settings tab allows runtime configuration of SMTP email relays, domain rules, and security policies.
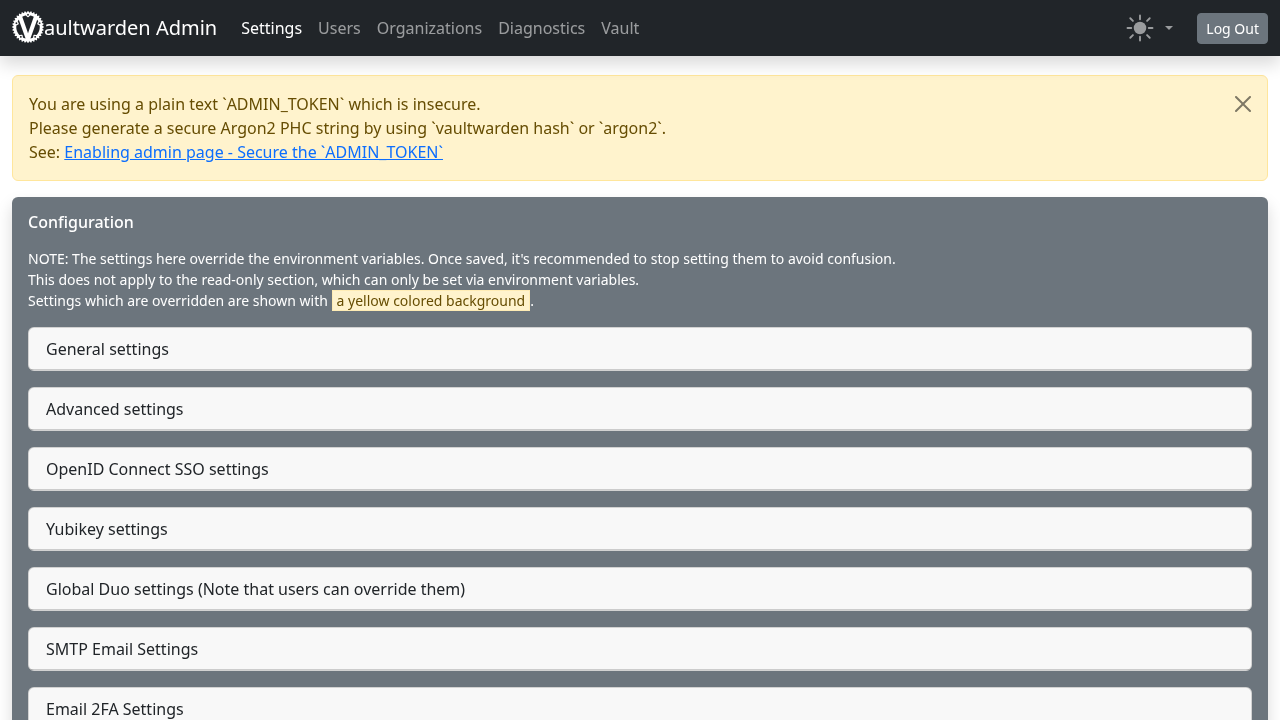
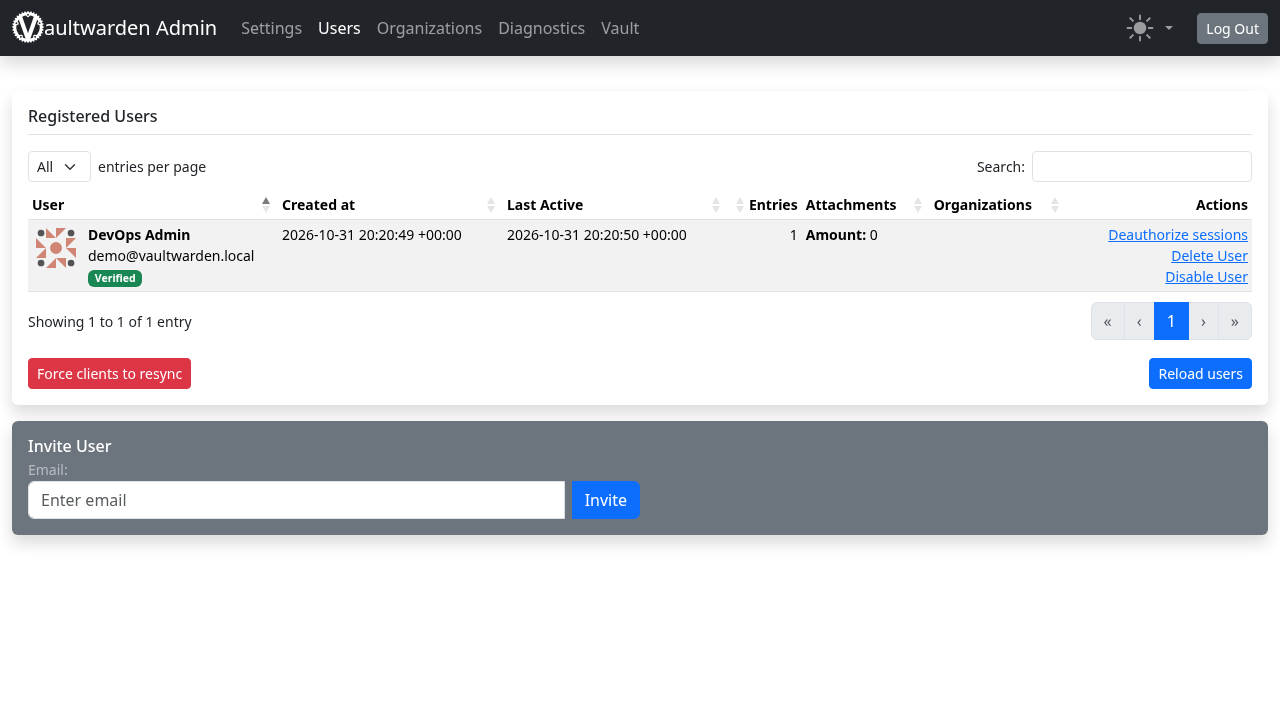
- Click Users to view all registered users, verify user statuses, invite members, or deauthorize devices.
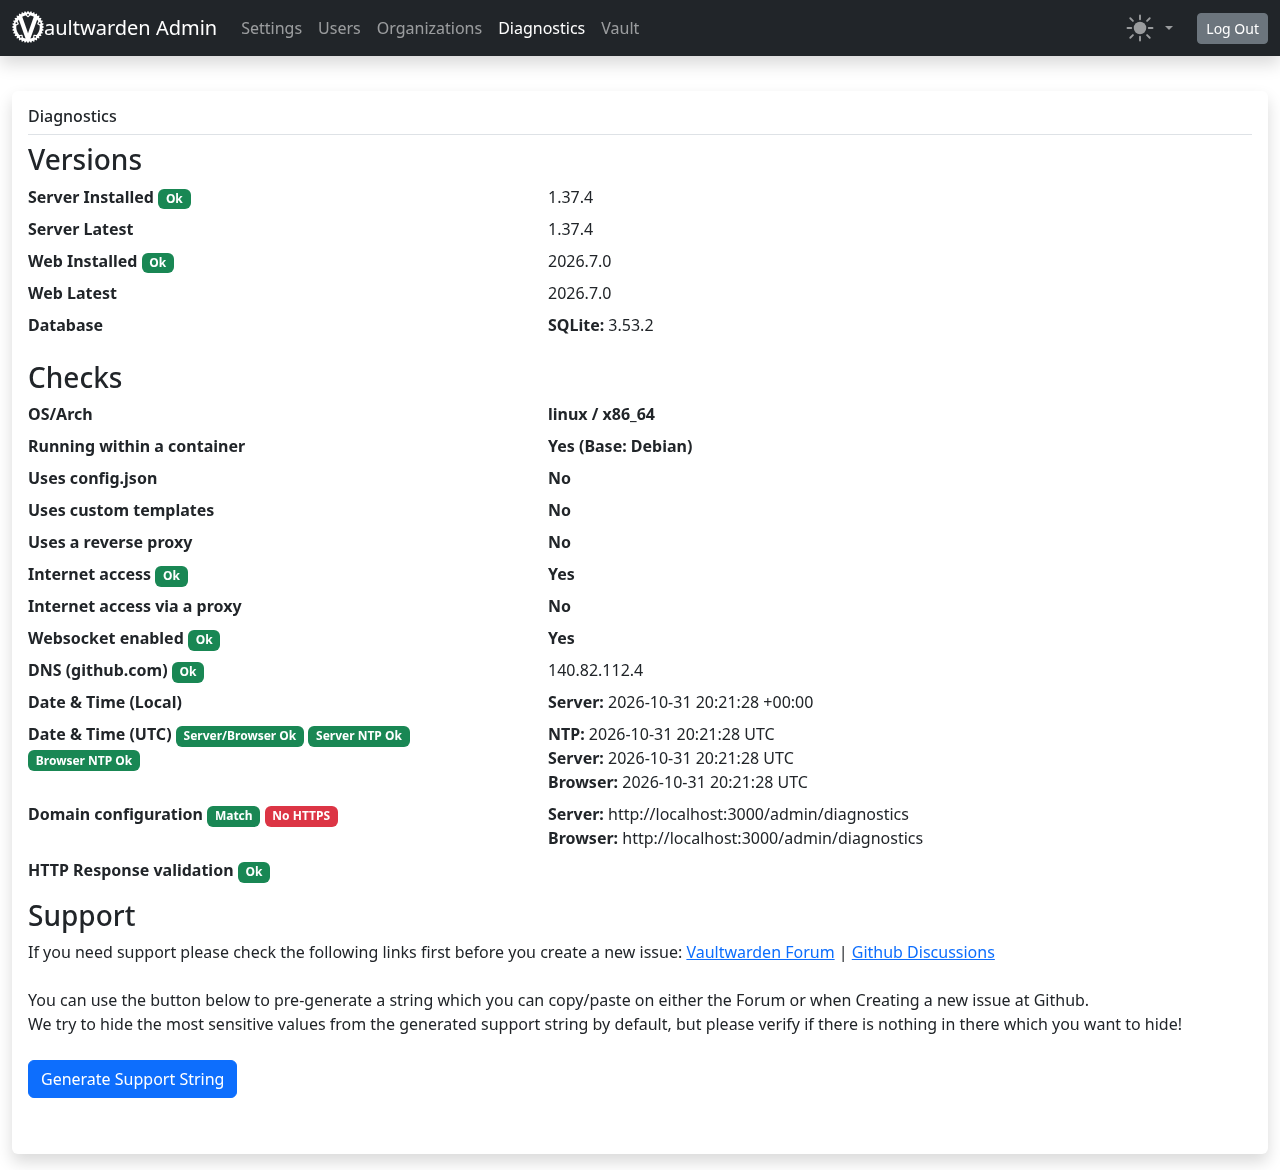
- Click Diagnostics to review compiled Rust features, database backend metrics, and WebSocket support.
Step 7: Auto-Lock and Vault Unlocking
When you switch tabs or leave the Web Vault session, the vault automatically locks to prevent unauthorized local access.
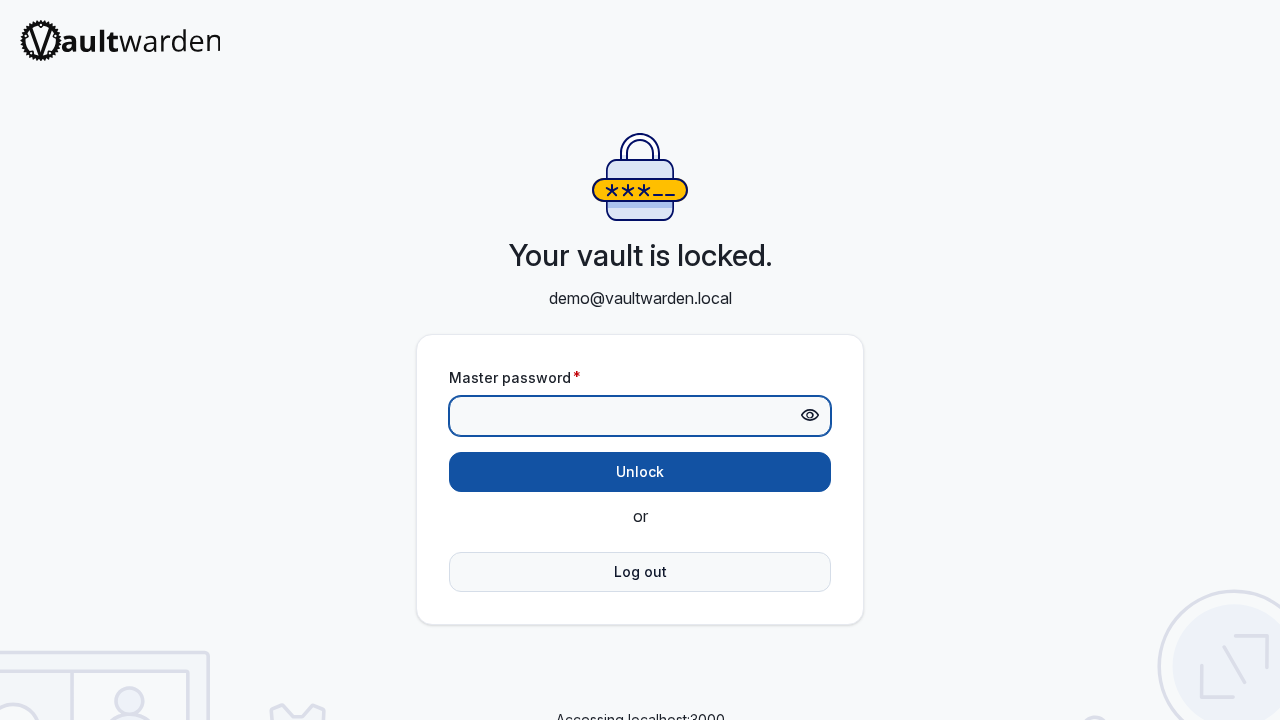
Enter your master password to unlock the session and resume managing your credentials.
---
Post-Install Hardening
Once you have registered your primary administrator account, disable open user registrations to prevent unauthorized public signups on your server.
Edit .env and set:
SIGNUPS_ALLOWED=falseApply the updated configuration by reloading the container:
docker compose up -dAdditional accounts can subsequently be invited directly through the /admin console.
---
Troubleshooting
| Symptom / Issue | Probable Cause | Recommended Resolution |
|---|---|---|
Web Vault refuses login or signup (InsecureUrlNotAllowedError) | Web-Vault 2026.7.0 client requires HTTPS even on localhost | Deploy a reverse proxy terminating TLS (such as Caddy with --internal-certs) or configure ROCKET_TLS directly in Vaultwarden. |
Admin login blocked with HTTP 429 (Too Many Requests) | Vaultwarden enforces rate limits on /admin (burst of 3 attempts, then 1 per 300 seconds) | Wait 5 minutes for the rate limit window to expire before attempting another admin login. |
| Browser extensions or mobile apps fail to connect | Untrusted internal certificate or DOMAIN environment variable mismatch | Ensure DOMAIN in .env matches the exact external URL. For mobile clients, use a valid public CA certificate (Let's Encrypt) or install Caddy's root CA certificate into the client OS trust store. |
| Registration fails with "User already exists" | Stale user records in persistent SQLite database | Log in to https://localhost:8443/admin, navigate to Users, and delete the stale test account, or wipe vw-data/ on fresh deployments. |
| Real-time synchronization not pushing to clients | Reverse proxy dropping WebSocket connection upgrades on /notifications/hub | Ensure your proxy forwards the Upgrade and Connection headers. Caddy handles WebSockets automatically; Nginx requires explicit proxy_set_header Upgrade $http_upgrade. |
Permission denied when removing vw-data | Container user wrote SQLite database files as root | Remove root-owned files with sudo rm -rf vw-data or via Docker: docker run --rm -v $(pwd):/v alpine rm -rf /v/vw-data. |
---
Teardown & Maintenance
To safely stop the Vaultwarden stack while preserving all encrypted passwords and configuration:
docker compose downTo update Vaultwarden and Caddy to the newest upstream container releases:
docker compose pull
docker compose up -d
To back up your vault database, copy the SQLite database while WAL journaling is consistent:
sqlite3 vw-data/db.sqlite3 ".backup 'vw-data/backup-$(date +%F).sqlite3'"To completely delete the deployment, including containers, networks, and persistent database volumes:
docker compose down -v
rm -rf vw-data
---
Assumptions & decisions
- HTTPS Requirement & Architecture: As discovered during end-to-end verification, Web-Vault 2026.7.0 client explicitly checks
if(!e.url.startsWith("https://")) throw new InsecureUrlNotAllowedError. Therefore, deploying over plain HTTP onhttp://localhost:3000is insufficient for real-world users. We standardized the primary install instructions on a dual-container Compose stack combiningvaultwarden/server:latestwithcaddy:2using--internal-certson port 8443. - Port Strategy: Published HTTPS on port 8443 to avoid port collisions with host port 443 during homelab testing, while clearly documenting how to bind port 443 with automatic Let's Encrypt certificates for production domain setups.
- Admin Security: Generated the
ADMIN_TOKENusingopenssl rand -hex 32into.envwith file permissions600, preventing exposure in version control and shell logs. - Single-Container Database Model: Standardized on Vaultwarden's default embedded SQLite engine (
/data/db.sqlite3) with WAL mode. For 99% of homelab and small organization workloads, SQLite outperforms client-server databases in simplicity and memory footprint (~8.4 MiB idle). - Screenshot References: Embedded verified PNG screenshots captured by the Playwright test suite (
runs/vaultwarden-20261031-155614/browser/*.png) to illustrate the complete user journey from sign-up to Bitwarden Send and admin diagnostics. - Post-Install Signup Policy: Documented setting
SIGNUPS_ALLOWED=falseimmediately following initial account creation to ensure public-facing servers are not vulnerable to open user registration.
Get the Unified Homelab Stack Compose Pack
One-command multi-container Compose files (Full *arr Stack, Prometheus + Grafana + ntfy Monitoring, and Homelab Auth) plus new verified deploys once a week.