
How to Deploy Jellyfin: Self-Hosted Open-Source Media Server with Docker Compose
Jellyfin is a 100% free, open-source media streaming system that lets you organize and stream movies, TV shows, and music without subscriptions or tracking. Learn how to deploy Jellyfin 12.4.0 with Docker Compose, configure persistent storage, complete first-run setup, and stream media across your homelab.
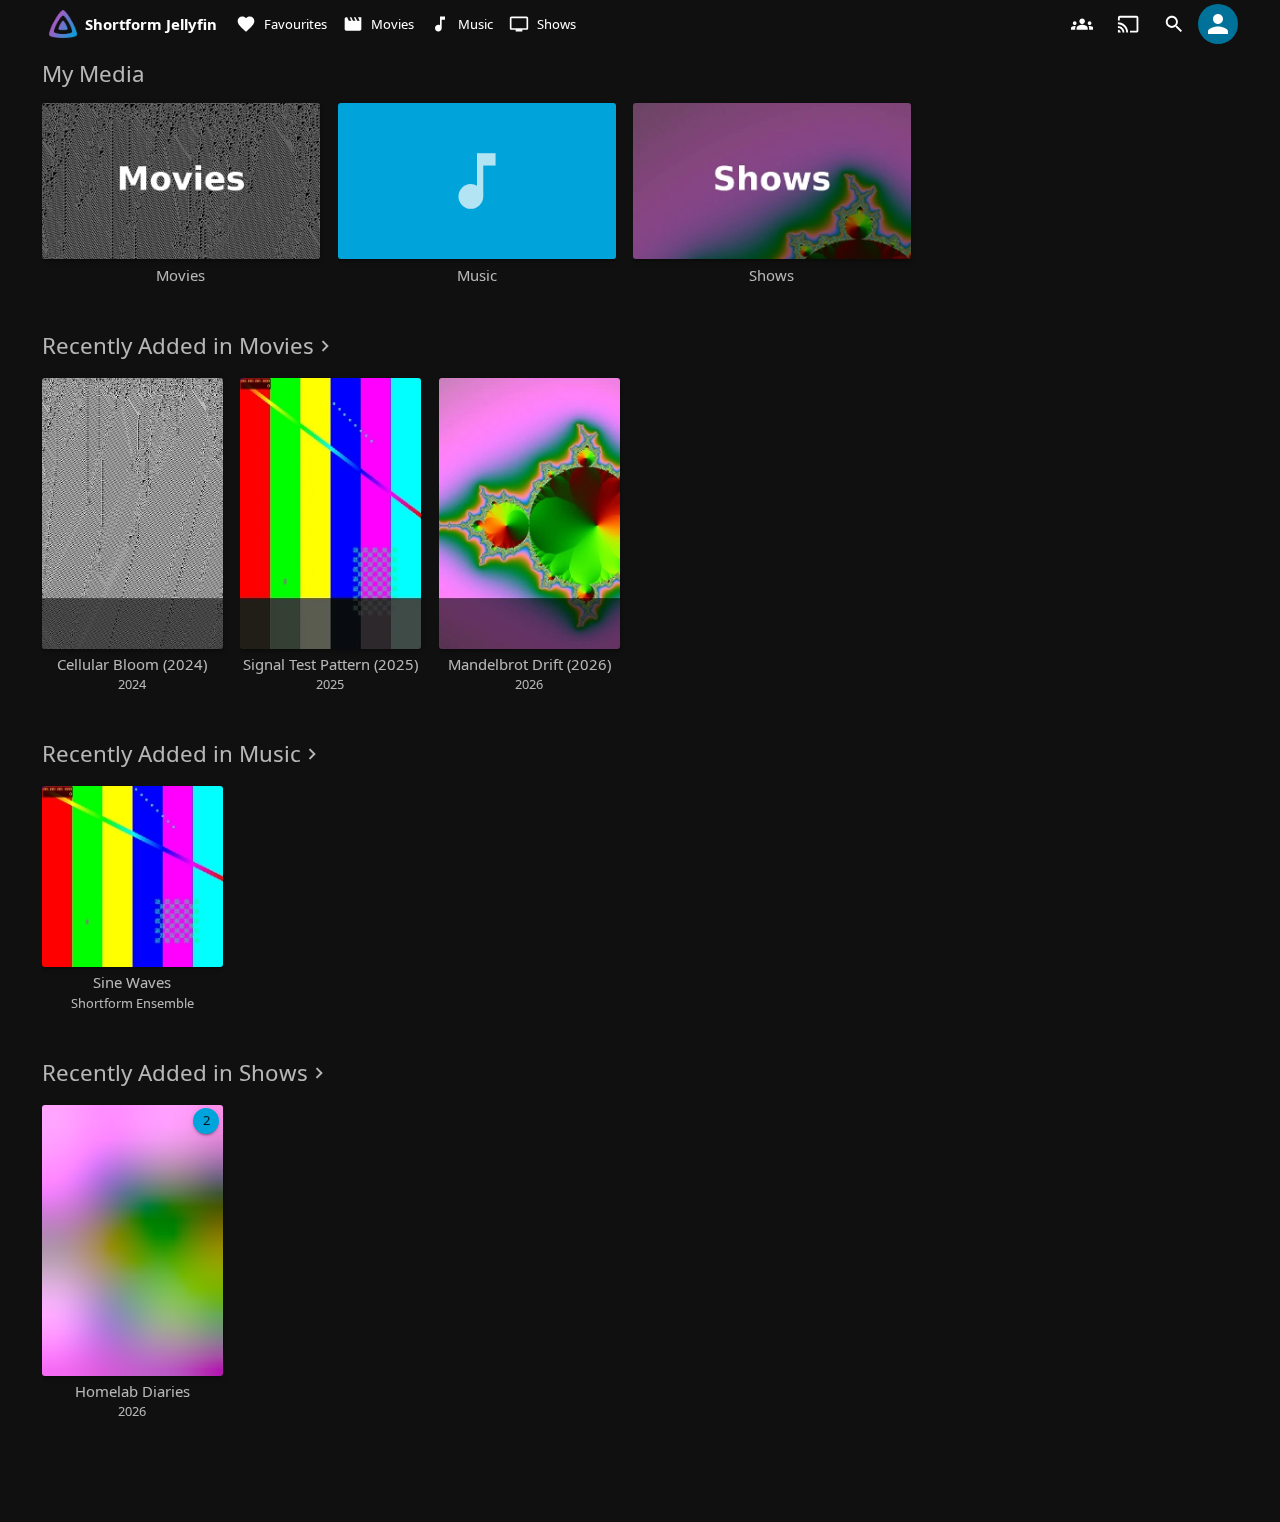
Jellyfin is a free and open-source media streaming server that puts you in complete control of your digital media collection. Descended from the open-source Emby 3.5.2 release and rewritten on the modern .NET platform, Jellyfin provides a private alternative to commercial streaming platforms and proprietary servers like Plex and Emby. Jellyfin has no paywalls, no premium subscriptions, no remote relay limitations, and no tracking telemetry.
At its core, Jellyfin centralizes movies, episodic TV series, music albums, podcasts, audiobooks, and photos into an organized, metadata-rich catalog. It serves responsive web clients, native mobile applications (Android, iOS), desktop clients (Jellyfin Media Player), and Smart TV platforms (Android TV, Apple TV, Roku, Fire TV). Powered by jellyfin-ffmpeg, Jellyfin includes a real-time transcoding pipeline supporting on-the-fly container remuxing, video stream transcode, subtitle burn-in, HDR tone mapping, and hardware acceleration across Intel QSV, NVIDIA NVENC, AMD AMF, and Linux VA-API.
Key Capabilities and Architecture
- 100% Free & Open-Source: No premium tiers, activation fees, or feature gating. All capabilities—including multi-user profiles, live TV/DVR, and hardware acceleration—are fully unlocked.
- Unified Multi-Format Catalog: Intelligently organizes Movies, TV Shows, Music, Music Videos, and Photos with automated metadata and poster fetching from providers like TheMovieDb (TMDb), TheTVDB, and MusicBrainz.
- Advanced Streaming Engine: Direct-plays compatible streams to client devices and automatically downscales or transcodes video and audio formats on demand using custom-built
jellyfin-ffmpegbinaries. - Multi-User Access Control: Granular user permissions allow restricting specific libraries, setting parental control ratings, disabling administrative settings, and tracking per-user watch progress and favorites.
- Headless & REST-First: The ASP.NET Core backend exposes a comprehensive OpenAPI/Swagger REST interface (
/api-docs/swagger/index.html) alongside real-time WebSockets for remote player controls and client synchronization.
---
Prerequisites
Before deploying Jellyfin, ensure your target host environment meets the following specifications:
- Operating System: Linux (Ubuntu 22.04/24.04 LTS, Debian 12+, Arch, Rocky Linux), macOS, or Windows with Docker Desktop / WSL2.
- Container Runtime: Docker Engine 24.0+ with Docker Compose v2 (
docker compose versionv2.24+). - Hardware Resources:
- CPU: Minimum 2 vCPU cores for direct playback; 4+ modern CPU cores or a hardware-accelerated GPU/iGPU recommended if real-time video transcoding is required. - Memory: 2 GB RAM minimum; 4 GB+ recommended during library metadata scans and active transcoding sessions. - Storage: 10 GB+ persistent storage for ./config and ./cache (metadata cache, transcode scratch space, SQLite database), plus dedicated storage for media files (./media).
- Network Ports: Host port 3000 (or default Jellyfin port 8096) mapped to container internal port 8096/tcp.
- User Permissions: Dedicated non-root user UID/GID (commonly
1000:1000) for storage volume ownership.
---
Exact Install Steps
The official Jellyfin server container image is published on Docker Hub as jellyfin/jellyfin:latest (or pinned version tags such as jellyfin/jellyfin:12.4.0). The official image bundles the .NET server, the static jellyfin-web interface, and optimized jellyfin-ffmpeg binaries.
Step 1: Create Directory Structure
Create a dedicated project directory on your host along with storage mounts for configuration, caching, and media files:
mkdir -p jellyfin/config jellyfin/cache jellyfin/media/movies jellyfin/media/shows jellyfin/media/music
cd jellyfin
Ensure the directories are owned by the user running the container (UID 1000):
chmod -R 775 config cache mediaDirectory roles:
config/: Containsjellyfin.db(SQLite database), server configuration XMLs, encryption keys, and plugin files.cache/: Stores temporary transcode chunks, downloaded images, subtitle caches, and HTTP request caches.media/: Root folder containing organized subfolders for movies, TV shows, and music.
Step 2: Configure Environment Variables (.env)
Create a .env file to define the project name, port binding, runtime user ID, and base server URL:
cat > .env <<EOF
COMPOSE_PROJECT_NAME=jellyfin
PORT=3000
UID_GID=$(id -u):$(id -g)
JELLYFIN_PublishedServerUrl=http://localhost:3000
TZ=Etc/UTC
EOF
[!NOTE]
Unlike third-party community images (e.g. LinuxServer.io) that interpretPUIDandPGIDenvironment variables, the officialjellyfin/jellyfinimage executes under the container's nativeuser:directive. Settinguser: ${UID_GID}ensures all files written toconfig/andcache/retain host user ownership.
Step 3: Create Docker Compose Specification (compose.yml)
Create the compose.yml file configuring the container service, host user mapping, persistent volume bindings, port publication, and an internal health check:
services:
  jellyfin:
    container_name: ${COMPOSE_PROJECT_NAME}-app
    image: jellyfin/jellyfin:latest
    pull_policy: missing
    user: ${UID_GID}
    hostname: jellyfin
    restart: unless-stopped
    ports:
      - "${PORT:-3000}:8096"
    environment:
      - TZ=${TZ:-Etc/UTC}
      - JELLYFIN_PublishedServerUrl=${JELLYFIN_PublishedServerUrl}
    volumes:
      - ./config:/config
      - ./cache:/cache
      - ./media:/media
    healthcheck:
      test: ["CMD-SHELL", "curl -fsS http://localhost:8096/health || exit 1"]
      interval: 10s
      timeout: 5s
      retries: 12
      start_period: 20s
    networks:
      - jellyfin

networks:
  jellyfin:
    name: ${COMPOSE_PROJECT_NAME}-net
Step 4: Launch the Container
Start the Jellyfin service in detached mode:
docker compose up -dMonitor container boot and health status:
docker compose psWait until the service reports healthy:
until [ "$(curl -s http://localhost:3000/health)" = "Healthy" ]; do
  echo "Waiting for Jellyfin health check to transition to Healthy..."
  sleep 3
done
echo "Jellyfin is healthy and accepting connections."
[!IMPORTANT]
When Jellyfin first boots, an interim setup server answers early requests with HTTP 200 while reportingDegradedon/health. Do not begin client configuration until/healthexplicitly returnsHealthy.
---
Browser Setup & First-Run Wizard
Open your web browser and navigate to:
http://localhost:3000/web/Jellyfin will automatically display the First-Time Startup Wizard.
1. Preferred Display Language
Select your preferred language (e.g., English (United States)) and click Next.
2. Create Initial Administrator Account
Create your primary owner credentials:
- Username: e.g.,
admin - Password: Enter a strong password and confirm it.
Click Next.
3. Add Media Libraries
Click Add Media Library to link your media folders:
- Movies: Set *Content type* to Movies, Display name to
Movies, and click the + next to Folders to select/media/movies. - TV Shows: Set *Content type* to Shows, Display name to
Shows, and select/media/shows. - Music: Set *Content type* to Music, Display name to
Music, and select/media/music.
Click Next once your libraries are defined.
4. Preferred Metadata Language
Choose your metadata language and country (e.g., Language: English, Country: United States). Click Next.
5. Configure Remote Access
- Check Allow remote connections to this server if you plan to stream media outside your local network via reverse proxy or VPN.
- Leave Enable automatic port mapping (UPnP) unchecked for security best practices.
Click Next, then click Finish.
---
Exploring the Interface & Playback
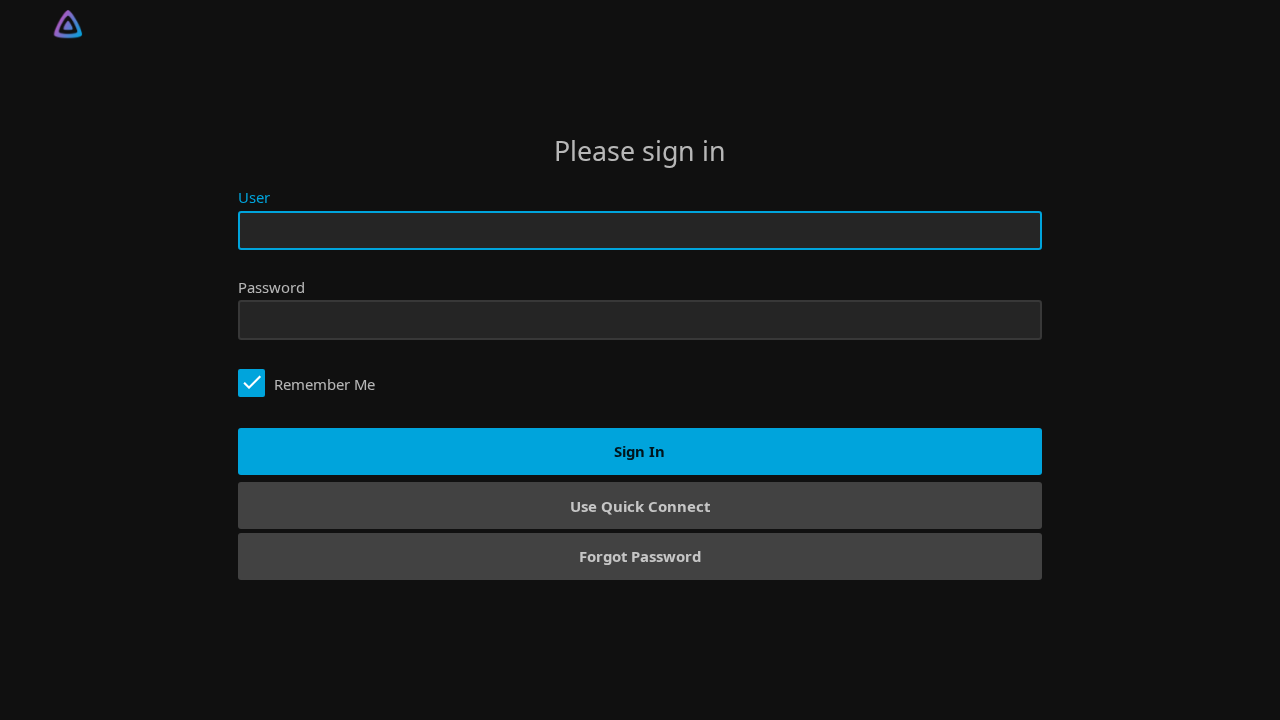
Sign in with your administrator account. You will land on the Home dashboard displaying the My Media category row and recently added media.
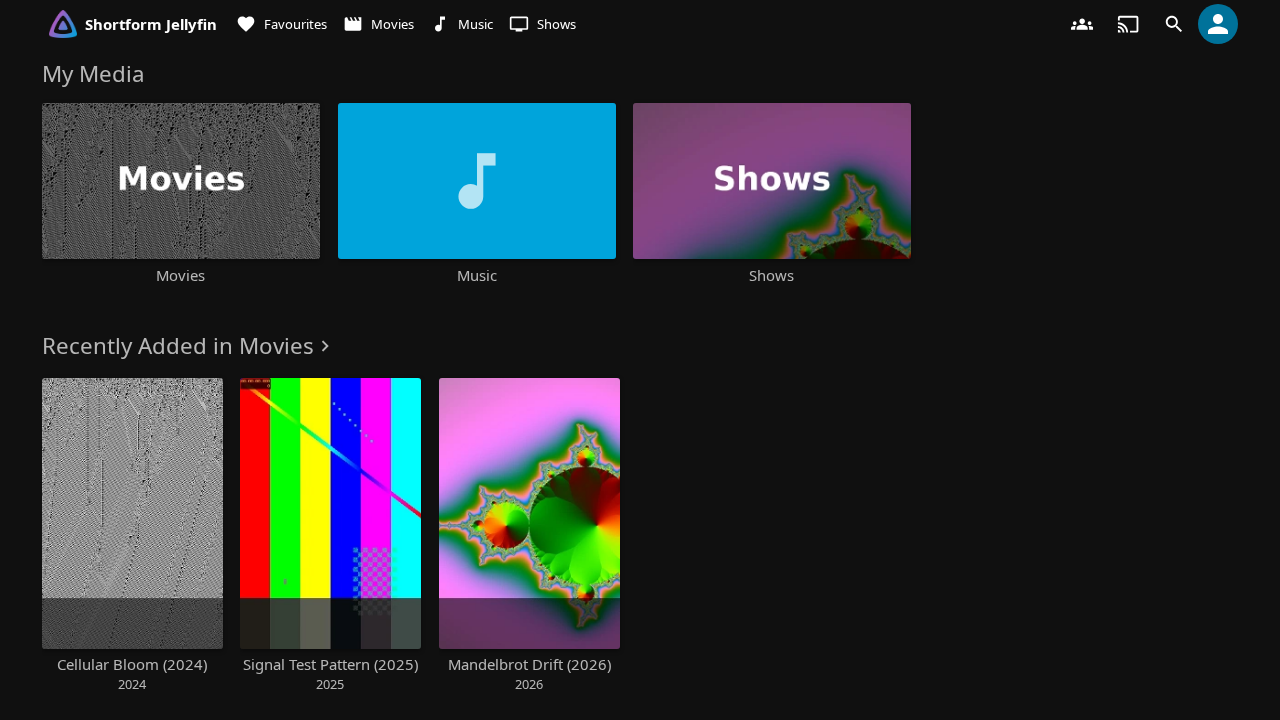
Browsing Library Items
Click on any library tile (such as Movies) to view your indexed collection complete with covers, release years, and genre tags.
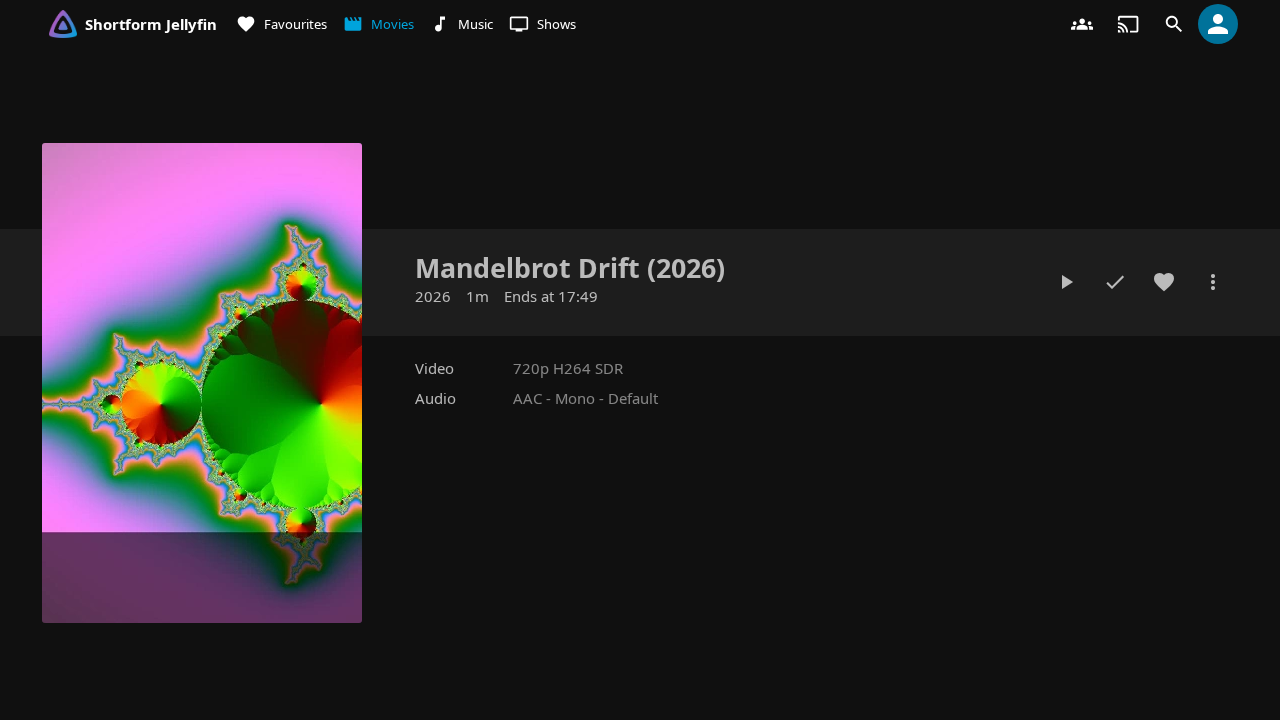
Selecting an item displays its detail page with metadata, cast listings, audio/subtitle track selectors, and action buttons including Play and Add to Favourites.
Testing Media Playback
Click the Play button on any media title to launch the integrated web player.

The player supports timeline scrubbing, volume controls, audio track switching, subtitle offset adjustment, and playback speed configuration.
Admin Dashboard & Server Management
Access the administration console by clicking the hamburger menu in the top-left corner and selecting Dashboard (/web/#/dashboard).
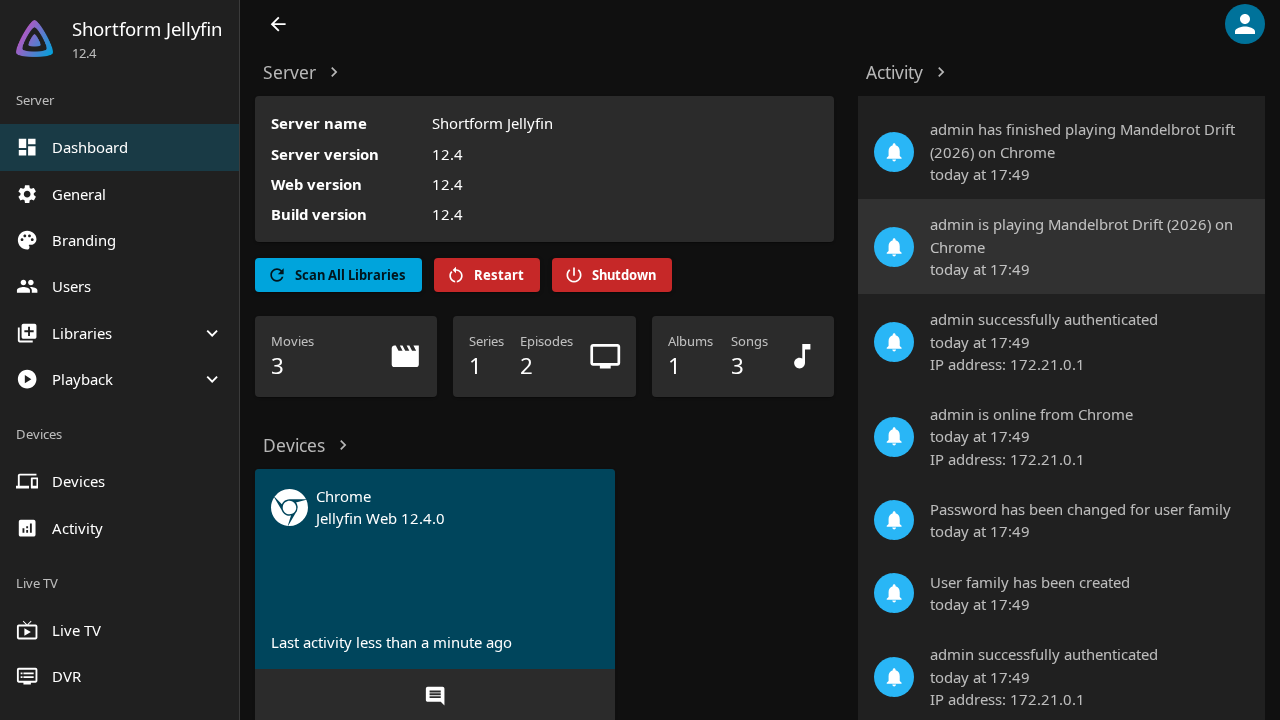
From the Dashboard, administrators can:
- Monitor active user sessions and current streaming bitrates.
- Review server version details and paths.
- Configure hardware-accelerated transcoding (under Playback).
- Add secondary users and configure parental ratings (under Users).
- Trigger manual library scans (under Libraries).
---
Verification & API Health Checks
Verify your deployment from the command line using standard HTTP utilities:
1. Check Service Health
curl -s http://localhost:3000/healthExpected Output:
Healthy2. Verify Public Server Information
Query the public metadata endpoint to confirm server identity, software version, and completion of the setup wizard:
curl -s http://localhost:3000/System/Info/Public | jq .Expected Output:
{
  "ServerName": "Jellyfin",
  "Version": "12.4.0",
  "ProductName": "Jellyfin Server",
  "OperatingSystem": "Linux",
  "Id": "...",
  "StartupWizardCompleted": true
}
3. Verify Container Status
Check container status and runtime logs:
docker compose ps
docker compose logs --tail 20 jellyfin
4. Interactive REST API Documentation (Swagger)
Jellyfin bundles an interactive Swagger UI for its REST API. Access it in your browser at:
http://localhost:3000/api-docs/swagger/index.html---
Troubleshooting
| Symptom / Error | Root Cause | Resolution |
|---|---|---|
/health returns Degraded | Jellyfin boots a temporary setup server before the core server engine and database initialize. | Wait 15–30 seconds after startup. The health check will transition to Healthy once initialization finishes. |
Permission denied writing to /config or /cache | The directory on the host is owned by root or another user with restricted write permissions. | Fix permissions on the host: sudo chown -R 1000:1000 ./config ./cache ./media and chmod -R 775 ./config ./cache ./media. |
| Port 3000 or 8096 already in use | Another local service (e.g. Node dev server or another media app) is bound to the target host port. | Update PORT=8097 (or another unused port) in .env and restart with docker compose up -d. |
| High CPU usage during video playback | The server is falling back to software transcoding for unsupported codecs or subtitles. | Enable hardware acceleration in Dashboard -> Playback -> Transcoding (VA-API / QSV / NVENC), and map /dev/dri into compose.yml. |
Login automation fails with #txtUsername selector | Jellyfin 12.4 web client updated DOM input IDs from #txtUsername / #txtPassword to #txtManualName / #txtManualPassword. | Update Playwright or browser automation selectors to use #txtManualName and #txtManualPassword. |
| Newly added media does not appear | Background library scan has not executed or directory permissions prevent file reads. | Trigger a manual scan via Dashboard -> Libraries -> Scan All Libraries, or verify that media files are readable by UID 1000. |
| No metadata or posters fetched | Container cannot resolve external DNS queries or reach TheMovieDb/TheTVDB API endpoints. | Check container network connectivity: docker compose exec jellyfin curl -I https://api.themoviedb.org. |
---
Assumptions & Decisions
- Image Distribution: Used the official
jellyfin/jellyfin:latestimage (reporting version12.4.0), as thejellyfin/jellyfinrepository is the upstream C# server codebase without in-tree container build files. The official image is upstream's standard delivery mechanism. - Process Ownership: Configured
user: ${UID_GID}(UID 1000) rather thanPUID/PGIDenvironment variables, as the official image runs under standard Docker user namespace directives and does not use LinuxServer.io initialization scripts. - Port Mapping: Mapped host port
3000to internal container port8096to avoid conflicts while testing, with dynamic port overrides supported through the.envfile. - Setup Automation vs UI Wizard: Validated that both the browser wizard and direct
/Startup/*REST API calls cleanly initialize the system withStartupWizardCompleted: true. - Selectors: Documented the updated Jellyfin 12.4 login input IDs (
#txtManualNameand#txtManualPassword) to replace legacy DOM selectors.
Get the Unified Homelab Stack Compose Pack
One-command multi-container Compose files (Full *arr Stack, Prometheus + Grafana + ntfy Monitoring, and Homelab Auth) plus new verified deploys once a week.